[Background]
왜 firebase remoteconfig을 사용하는지 의문이 들 수도 있는데 한번 예를 들어 보겠습니다. 서버스를 하고 있는데 갑자기 백엔드 서버의 주소가 바뀌면 바뀐 버전을 플레이 스토어에 올리고 사람들이 업데이트를 하길 바라야 한다.
이처럼 모바일에서 상수 관리는 매우 힘든 편에 속한다. 사람들은 업데이트를 잘 안 하기 때문에 사용자 전체가 바뀐 값을 가지고 있는 버전으로 업데이트하는 건 사실상 불가능하다. 그럼 백엔드에서는 원래 주소랑 바뀐 주소를 같이 운영하거나 아니면 원래 버전을 사용하는 사용자가 불편을 겪어야 한다.
이럴 때는 다른 백엔드 서버로부터 주소를 받아오는 방식으로 해결할 수 있지만, 모바일 개발자가 직접 서버에 대해서 배우거나 다른 사람들의 도움을 받아야 한다.
Firebase RemoteConfig을 사용하면 쉽게 해결이 된다.
이번 글에서는 한번 멀티 모듈 환경에서 필요한 DI을 사용해 remoteConfig을 적용해 보겠습니다.
[RemoteConfig 적용하기]
일단 Firebase은 연동을 해야 하는데 이는 다른 소스가 많으니 연동된 상태라고 판단하겠습니다.
1. Dependency 추가하기
dependencies {
    implementation("com.google.firebase:firebase-config-ktx:21.5.0")
    implementation("com.google.firebase:firebase-analytics-ktx:21.5.0")
}
Remote Config만 적용해도 firebase 연동에 필요한 analytics까지 넣어줍니다.
2. Firebase 콘솔에서 값 추가하기
콘솔에 들어가서 필요한 값을 추가해 줍니다


값을 다 추가했으면 변경사항을 게시해 주면 Firebase에서 설정은 끝입니다.
3. Firebase RemoteConfig 초기화해 주기
@Provides
@Singleton
fun provideRemoteConfig(): FirebaseRemoteConfig {
    val remoteConfig = FirebaseRemoteConfig.getInstance().apply {
        val configSettings = FirebaseRemoteConfigSettings.Builder()
            .setMinimumFetchIntervalInSeconds(0) // 개발중에는 상시로 데이터를 가져온다
            .build()

        // 연동되기전에 사용되는 값을 저장한 위치
        setDefaultsAsync(R.xml.remote_default_config)
        setConfigSettingsAsync(configSettings)
    }

    remoteConfig.fetchAndActivate().addOnCompleteListener {
        if (it.isSuccessful) {
            val updated = it.result
            println("Config params updated: $updated")
        } else {
            println("Config params updated: ${it.exception}")
        }
    }
    return remoteConfig
}
R.xml.remote_default_config은 res 폴더에서 xml 폴더를 생성한 뒤에 파일 생성을 해주면 됩니다.

이 파일 안에 기본 값을 설정해 주면 되는데 모든 값을 설정해 줄 필요는 없습니다
<?xml version="1.0" encoding="utf-8"?>
<defaultsMap>
    <entry>
        <key>MIN_VER</key>
        <value>2.0.0</value>
    </entry>
</defaultsMap>
4. FirebaseRemoteConfig 사용하기
viewModel에 주입해서 사용할 수도 있고 아니면 직접 activity나 fragment에 주입할 수도 있지만 개인적으로 MVVM 특성상 viewModel에 하는 게 맞아 보이지만 편의성을 위해 직접 fragment에 주입했습니다.
@AndroidEntryPoint
class SettingFragment : Fragment() {
    @Inject
    lateinit var remoteConfig: FirebaseRemoteConfig

    override fun onCreateView(
        inflater: LayoutInflater, container: ViewGroup?,
        savedInstanceState: Bundle?,
    ): View {
        binding.tvVersion.text = remoteConfig.getString("MIN_VER")
    }
    ...
 }
원래라면 백엔드의 도움이 필요했겠지만 firebase을 활용하면 이렇게 쉽게 상수를 가져올 수 있습니다.

정말로 완벽해 보이는 기술이지만 몇 가지 주의해야 할 문제점들이 있습니다.
[문제점 및 해결방법]
1. Firebase Remote Config 연결 속도는 느리다
이게 뭔 소리인가 하면 보통 화면이 그려지고 나서 연결 및 값을 가져오게 됩니다.

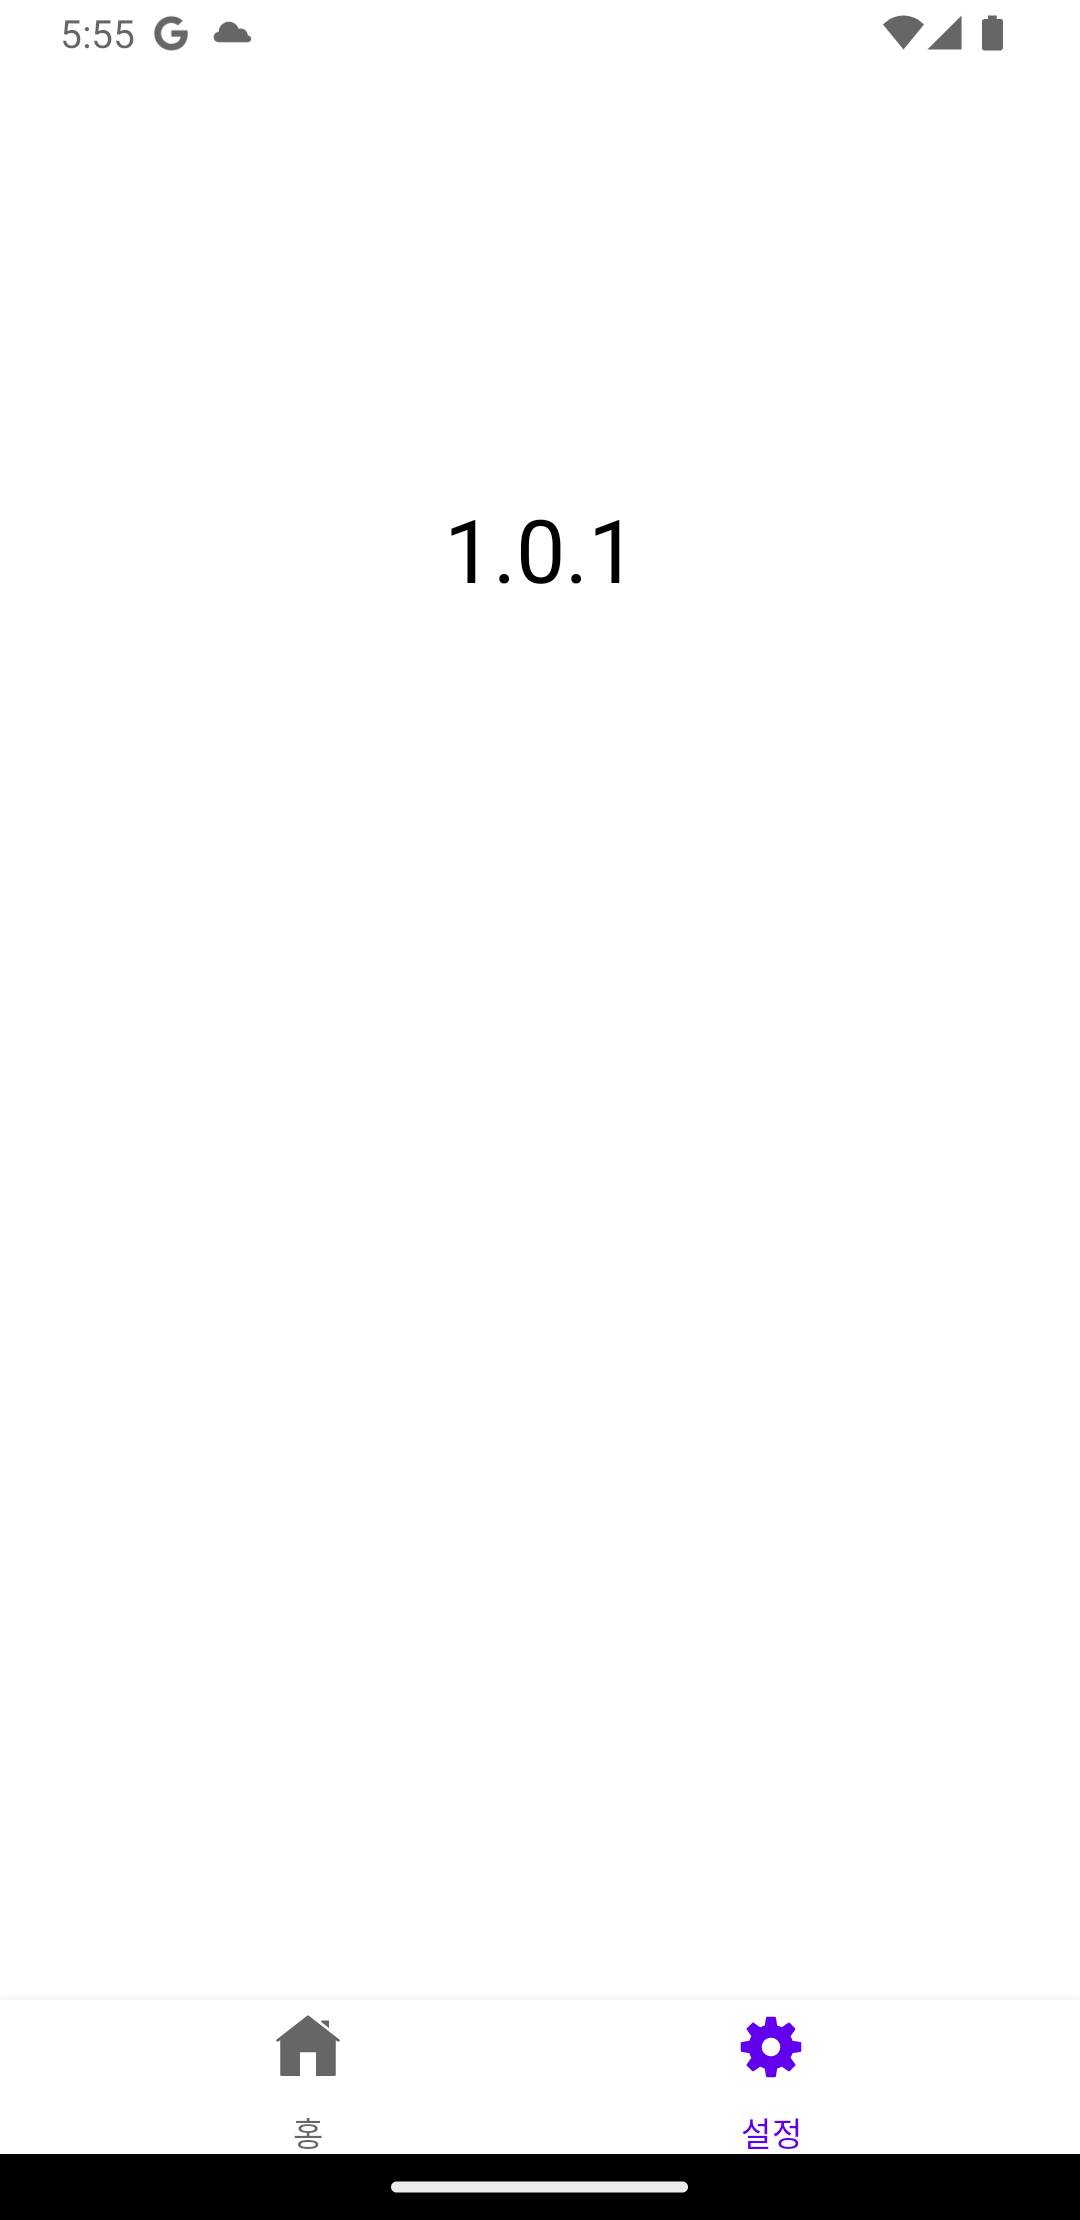
값을 1.0.2으로 바꿨는데 앱에서는 1.0.1을 유지하고 있습니다.
이 값을 바꾸려면 연결을 다시 하고 가져와야 하는데 연결 속도가 화면 그리는 속도보다 느립니다.

해결 방법
두 가지 방법이 있습니다.
1) viewModel로 통해 가져오기
Hilt을 통해 바로 가져오는 것이 아닌 viewModel을 통해서 가져오고 데이터 변화에 observe을 한다.
DI는 완전히 설정용으로 해놓습니다.
@Provides
@Singleton
fun provideRemoteConfig(): FirebaseRemoteConfig {
    val remoteConfig = FirebaseRemoteConfig.getInstance().apply {
        val configSettings = FirebaseRemoteConfigSettings.Builder()
            .setMinimumFetchIntervalInSeconds(0)
            .build()

        setDefaultsAsync(R.xml.remote_default_config)
        setConfigSettingsAsync(configSettings)
    }
    return remoteConfig
}
그리고 DataModule에서 이 값을 가져올 datasource을 만들어줍니다.
@Singleton
class RemoteConfigDataSource @Inject constructor(
    private val remoteConfig: FirebaseRemoteConfig
) {
    suspend fun fetchRemoteConfig(key: String): String {
        return suspendCoroutine { continuation ->
            remoteConfig.fetchAndActivate().addOnCompleteListener { task ->
                if (task.isSuccessful) {
                    val result = remoteConfig.getString(key)
                    continuation.resumeWith(Result.success(result))
                } else {
                    continuation.resumeWith(
                        Result.failure(
                            task.exception ?: Exception("Unknown error")
                        )
                    )
                }
            }
        }
    }
}
repository에 연결해 주고
viewModel에서 필요할 때마다 요청을 합니다.
@HiltViewModel
class SettingViewModel @Inject constructor(
    private val repository: QuestionRepository
) : ViewModel() {
    private val _version = MutableLiveData<String>()
    val version: LiveData<String> get() = _version

    fun getVersion() {
        viewModelScope.launch {
            _version.value = repository.fetchRemoteConfig("MIN_VER")
        }
    }
}
@AndroidEntryPoint
class SettingFragment : Fragment() {
    private val viewModel: SettingViewModel by viewModels()

    override fun onCreateView(
        inflater: LayoutInflater, container: ViewGroup?,
        savedInstanceState: Bundle?,
    ): View {
        binding = FragmentSettingBinding.inflate(inflater, container, false)
        viewModel.version.observe(viewLifecycleOwner) {
            binding.tvVersion.text = it
        }
        return binding.root
    }
}
이렇게 하면 필요할 때마다 다시 연결해서 최신 데이터를 가져올 수 있습니다
단점은 연결에 걸리는 시간이 있기 때문에 데이터가 바로 표시가 안됩니다.

2. 처음 연결 때 splashscreen 이용하기
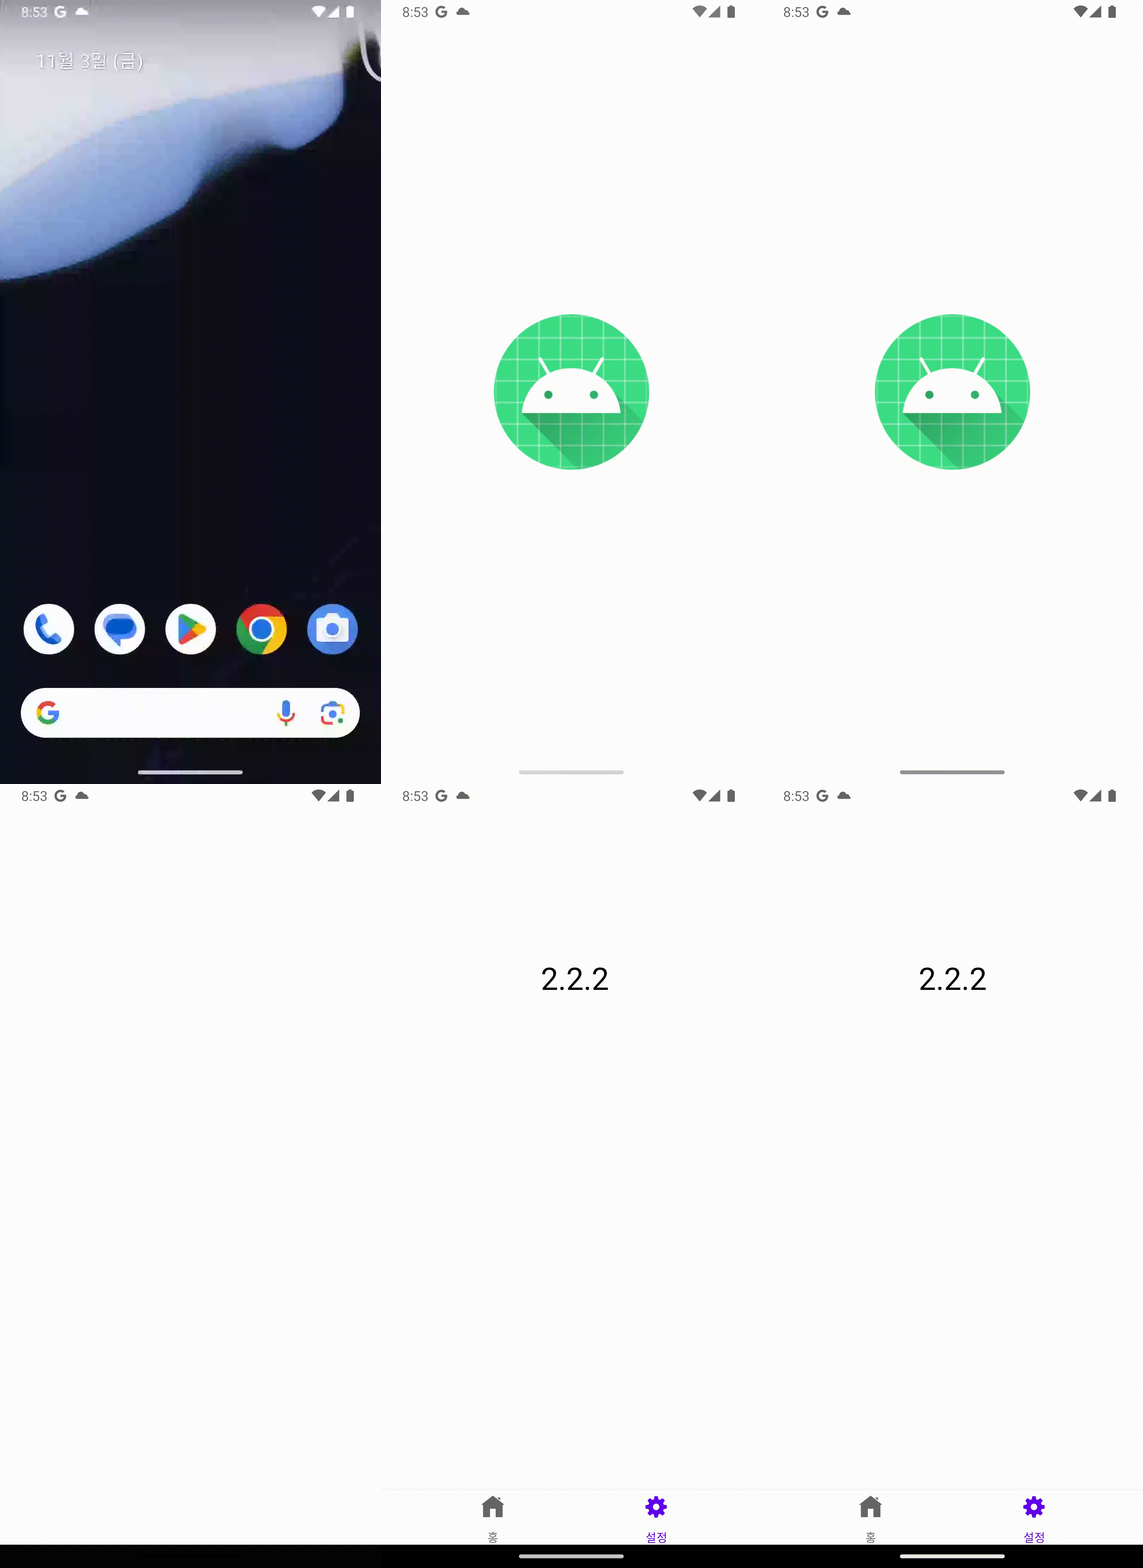
바로 데이터를 보여주고 싶다면 splashscreen을 이용해서 연결하는 시간 동안 splashscreen을 보여주면 됩니다.
dependency 추가
dependencies {
    implementation("androidx.core:core-splashscreen:1.1.0-alpha02")
}
DI 설정은 1번 해결 방법과 동일하고
datasource은 이제 값 대신 초기화됐다는 표시를 위해 boolean을 돌려줍니다.
@Singleton
class RemoteConfigDataSource @Inject constructor(
    private val remoteConfig: FirebaseRemoteConfig
) {
    suspend fun fetchRemoteConfig(): Boolean {
        return suspendCoroutine { continuation ->
            remoteConfig.fetchAndActivate().addOnCompleteListener { task ->
                if (task.isSuccessful) {
                    continuation.resumeWith(Result.success(true))
                } else {
                    continuation.resumeWith(
                        Result.failure(
                            task.exception ?: Exception("Unknown error")
                        )
                    )
                }
            }
        }
    }
}
그리고 splashscreen activity도 만들어줍니다.
@AndroidEntryPoint
class SplashActivity : AppCompatActivity() {
    private val viewModel: MainViewModel by viewModels()

    @Inject
    lateinit var remoteConfig: FirebaseRemoteConfig

    override fun onCreate(savedInstanceState: Bundle?) {
        installSplashScreen()
        super.onCreate(savedInstanceState)
        viewModel.activate.observe(this) {
            if (it) {
                startActivity(MainActivity.getIntent(this))
                finish()
            }
        }
    }
}
그리고 Manifest도 수정해 줍니다
<activity
    android:name=".SplashActivity"
    android:exported="true">
    <intent-filter>
        <action android:name="android.intent.action.MAIN" />

        <category android:name="android.intent.category.LAUNCHER" />
    </intent-filter>
</activity>
앱이 실행될 때 splashActivity가 먼저 실행이 돼야 합니다.
viewModel이 초기화되자마자 연결을 합니다.
@HiltViewModel
class MainViewModel @Inject constructor(
    private val repository: QuestionRepository
) : ViewModel() {
    private val _activate = MutableLiveData<Boolean>()
    val activate: LiveData<Boolean> get() = _activate

    init {
        viewModelScope.launch {
            _activate.value = repository.fetchRemoteConfig()
        }
    }
}

이 방식을 사용하면 화면이 넘어가자마자 바로 데이터를 보여줄 수 있습니다.
굳이 계속 연결을 다시 시도할 필요는 없어서 이 방식이 가장 나은 거 같습니다.
흰 화면이 많다고 생각할 수 있지만 이는 splashscreen activity를 안 꾸며서 그렇습니다 저 기간 동안 앱의 아이콘인 로딩 화면 표시해 주면 됩니다.
그리고 굳이 datasource을 거치지 않고 바로 inject해도 데이터를 보여줍니다
@AndroidEntryPoint
class SettingFragment : Fragment() {
    @Inject
    lateinit var remoteConfig: FirebaseRemoteConfig
    override fun onCreateView(
        inflater: LayoutInflater, container: ViewGroup?,
        savedInstanceState: Bundle?,
    ): View {
        binding = FragmentSettingBinding.inflate(inflater, container, false)
        binding.tvVersion.text = remoteConfig.getString("MIN_VER")
        return binding.root
    }
 }
2. Hilt 모듈에서 remoteConfig 사용 못한다
Hilt 초기화는 application 바로 다음에 실행이 되기 때문에 firebase 연결이 되기 전에 Hilt 초기화가 이루어집니다.
그래서 이렇게 사용하면 에러가 발생합니다.
@Provides
@Singleton
fun provideStackOverFlowRetrofit(
    okHttpClient: OkHttpClient,
    remoteConfig: FirebaseRemoteConfig
): Retrofit {
    return Retrofit.Builder()
        .baseUrl(remoteConfig.getString("BASE_URL"))
        .client(okHttpClient)
        .addConverterFactory(GsonConverterFactory.create())
        .build()
}
retrofit 객체를 만들 때 base_url을 remoteConfig으로부터 가져오기로 했는데 아직 초기화 전이기 때문에 빈 문자열이 들어가서 이런 에러가 발생합니다.
java.lang.IllegalArgumentException: Expected URL scheme 'http' or 'https' but no scheme was found
해결방법
Hilt 초기화전에 연결하는 방법은 없고 초기값을 먼저 주고 나중에 바꾸는 방법밖에 없습니다.
일단 초기값을 아무거나 넣어줘서 Hilt 초기화 때 에러가 안 나게 합니다.
xml.default_remote_config에 BASE_URL에 retrofit이 만들어질 수 있도록 https://로 시작하는 아무런 값을 넣어줍니다.
<?xml version="1.0" encoding="utf-8"?>
<defaultsMap>
    <entry>
        <key>BASE_URL</key>
        <value>https://api</value>
    </entry>
</defaultsMap>
Interceptor을 통해 url을 바꿔줍니다.
class RemoteConfigInterceptor @Inject constructor(
    private val remoteConfig: FirebaseRemoteConfig
) : Interceptor {
    override fun intercept(chain: Interceptor.Chain): Response {
        val originalRequest = chain.request()
        val originalUrl = originalRequest.url

        val fullUrl = runBlocking {
            remoteConfig.getString("BASE_URL")
        }

        val baseUrl = Uri.parse(fullUrl)

        val newUrl = originalUrl.newBuilder()
            .scheme("https")
            .host(baseUrl.host ?: "")
            .build()

        val newRequest = originalRequest.newBuilder()
            .url(newUrl)
            .build()

        return chain.proceed(newRequest)
    }
}
그리고 interceptor를 OkHttpClient에 넣어줍니다.
@Provides
@Singleton
fun provideStackOverFlowClient(
    remoteConfigInterceptor: RemoteConfigInterceptor
): OkHttpClient =
    OkHttpClient.Builder()
        .connectTimeout(15, TimeUnit.SECONDS)
        .readTimeout(15, TimeUnit.SECONDS)
        .writeTimeout(20, TimeUnit.SECONDS)
        .addInterceptor(HttpLoggingInterceptor().apply {
            level = HttpLoggingInterceptor.Level.BODY
        })
        .addInterceptor(remoteConfigInterceptor)
        .build()

@Provides
@Singleton
fun provideStackOverFlowRetrofit(
    okHttpClient: OkHttpClient,
    remoteConfig: FirebaseRemoteConfig
): Retrofit {
    return Retrofit.Builder()
        .baseUrl(remoteConfig.getString("BASE_URL"))
        .client(okHttpClient)
        .addConverterFactory(GsonConverterFactory.create())
        .build()
}
설정이 잘되면 요청을 보낼 때의 주소와 최종적으로 받는 주소가 바뀐 걸 볼 수 있습니다.

[마무리]
한번 Firebase Remote Config을 설정해 봤습니다.
연결은 쉽지만 잘 적용하는건 다른 문제였던 것 같습니다.
전체 코드는 여기서 확인 가능합니다.
https://github.com/flash159483/multi-module-navigation
GitHub - flash159483/multi-module-navigation
Contribute to flash159483/multi-module-navigation development by creating an account on GitHub.
github.com
'android > jetpack' 카테고리의 다른 글
| (android/kotlin) MVVM + Clean architecture + 멀티 모듈 적용하는 방법 (0) | 2023.09.09 |
|---|---|
| (android/kotlin) 멀티모듈 프로젝트에서 Bottom Navigation 메뉴를 각각의 모듈로 나누는 방법 (0) | 2023.09.03 |
